Sponsors
Would you like to sponsor a challenge at Top 50 and have your store link shown here? If so, please contact admin! :)
Latest topics
12 Weeks to Better Photos - Week Two Challenge
3 posters
Page 1 of 1
 12 Weeks to Better Photos - Week Two Challenge
12 Weeks to Better Photos - Week Two Challenge: The Kitchen Sink Test
So here’s the question we want to focus on this week:
When should I use a fast shutter speed?
We call this one the kitchen sink test. If you don’t have a window by your kitchen sink, try a bathroom sink. If you don’t have enough light inside your house, a water hose, a babbling brook, or a rain puddle will do.
First of all, we want you to operate your camera in Shutter Priority mode (often indicated with an “S” or “Tv” on your camera dial. (Don’t worry about aperture as the camera will take care of that for you.) If you are inside go ahead and bump up your ISO between 1000 and 1600 unless you have an abundance of available light.
1. Find your kitchen sink (that shouldn’t be too hard.)
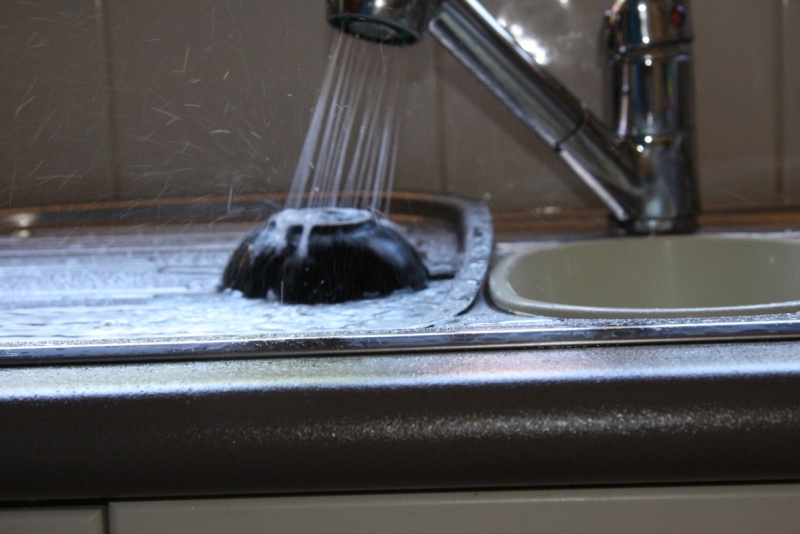
2. Now locate an object that is going to obstruct the water flowing from the tap. Basically, you want something that will interrupt the flow of water, causing the water to “splash” around it (similar to what a child’s gumboots do when tromping through a rain puddle.) You can use an item such as an upturned vase, bowl, etc.
3. Set your shutter speed to 1/80th of a second (indicated by the number 80.) Turn on the water and take the picture.
4. Now set your shutter really high (around 1/1000 of a second or higher) and take the photo again.
Don’t worry so much if the composition of your two photos isn’t exactly the same. What we’re looking for here is a visual indication that you’ve “frozen” the action by using a high shutter speed.
***Bonus points: Grab your tripod and set up your shot again using a really slow shutter speed, such as half a second, indicated as 0"5, or 1 second, indicated as 1". What effect does that give you? In what situations can you use this effect?
NOTE:
For those of you with point & shoot cameras set your camera on the action mode (usually indicated by a little running man) to obtain a high shutter speed. Take a photo in action mode, and then a second photo in a different mode, such as landscape and compare the difference.
When comparing your two photographs, you will notice that the one taken with the slower shutter speed is unable to visually stop the flow of water coming out of the tap. The one taken with the higher shutter speed though, is able to "freeze' the water in motion. You may also notice that there is less in focus in this photo. That is because as we selected a higher shutter speed, the camera automatically chose a lower f/stop to compensate.
This is how shutter speed works: the faster the shutter speed, the faster the camera takes the picture. The slower the shutter speed, the slower the camera takes the picture.
If you complete this week's challenge, we would love for you to share your pictures with us, so please post them up here in this thread for everyone to see!
Happy snapping!!!
 Re: 12 Weeks to Better Photos - Week Two Challenge
I love playing with water like this! 
The beach is also lots of fun with different shutter speeds
I have some pics somewhere in my files, but I will take some more this afternoon.
Thanks again Sue!!

The beach is also lots of fun with different shutter speeds
I have some pics somewhere in my files, but I will take some more this afternoon.
Thanks again Sue!!
 Re: 12 Weeks to Better Photos - Week Two Challenge
OK - so we are in week 4 and I am still doing week 2 - but at least I did it.....lol.
Here are my pics...
Firstly....the water one with the fastest Shutter Speed on my camera....250...
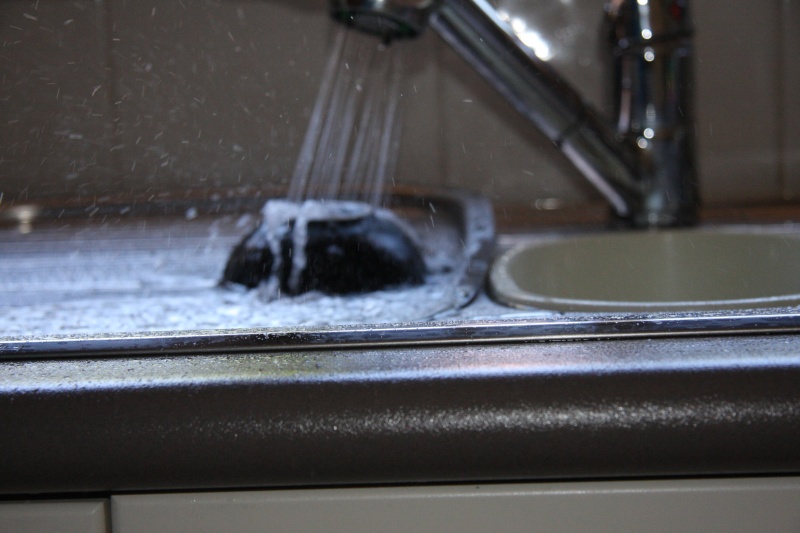
Here are my pics...
Firstly....the water one with the fastest Shutter Speed on my camera....250...

 Re: 12 Weeks to Better Photos - Week Two Challenge
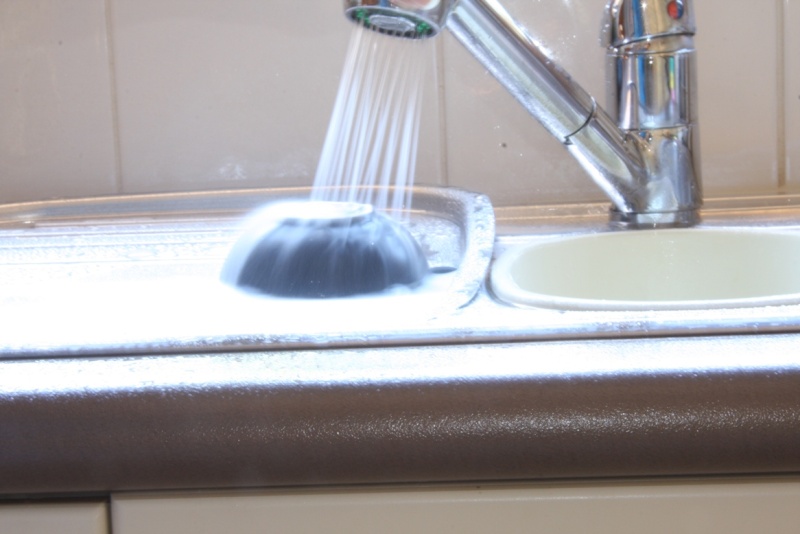
Number 3 is Shutter speed of 20 seconds. I love the effect this gives....you really do need a tripod for this....the other thing that I had to do to get the pic was lower my ISO to 400 even tough I was inside because the really long exposure made it really, really bright.

 Re: 12 Weeks to Better Photos - Week Two Challenge
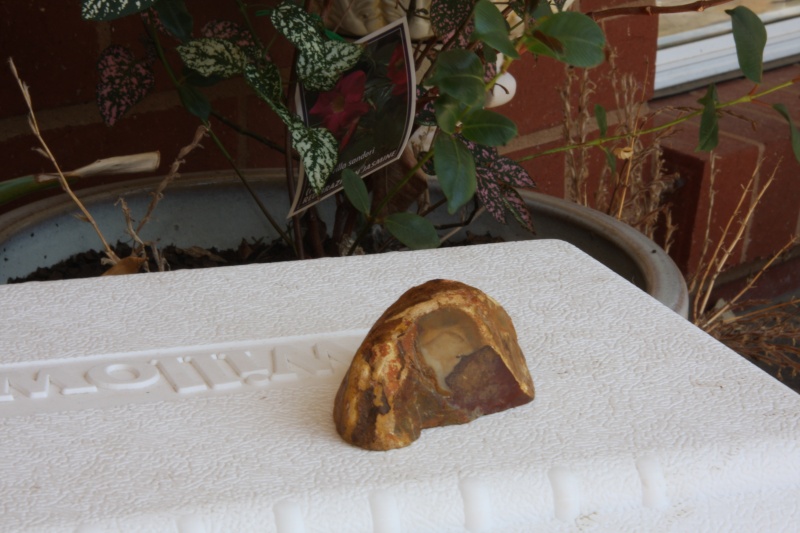
I went whole Hog and did the manual pics too....here is the one with the high F-stop of 32 - because it is so bright outside I also had to adjust my ISO to like 160 as well as my shutter speed.

 Re: 12 Weeks to Better Photos - Week Two Challenge
I know I am being a thread hog....but have to show you the last one. I wanted a shallow depth of field, so I then lowered my f-stop to 5.6 (as low as I could go). This was the result....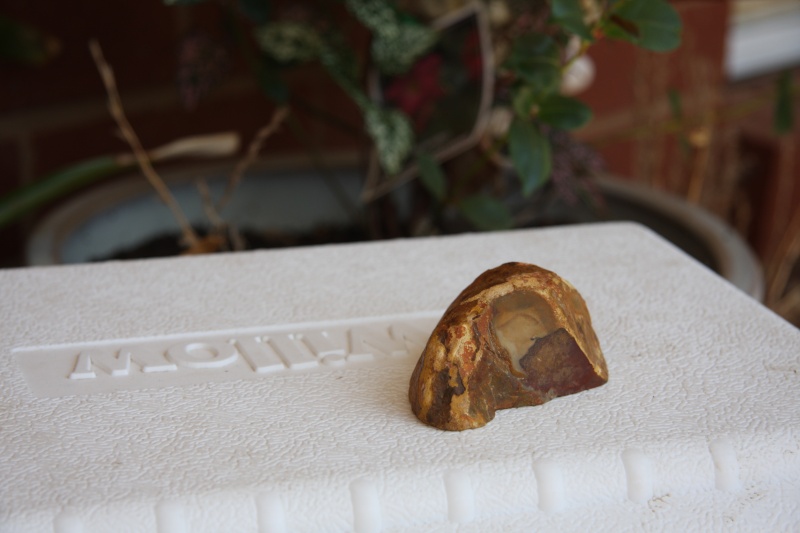

Page 1 of 1
Permissions in this forum:
You cannot reply to topics in this forum


» Announcement... Please Read!!!
» Dec / Jan gallery!
» December / January monthly ch!
» Photo a day challenge
» Happy new year everyone ;)
» Nov CC WINNERS!!!!!
» EXTENSION!!!!!!!!!!!!!!!!!
» Nov Cyber Chat!!!
» Nov CC challenge 3 GALLERY